
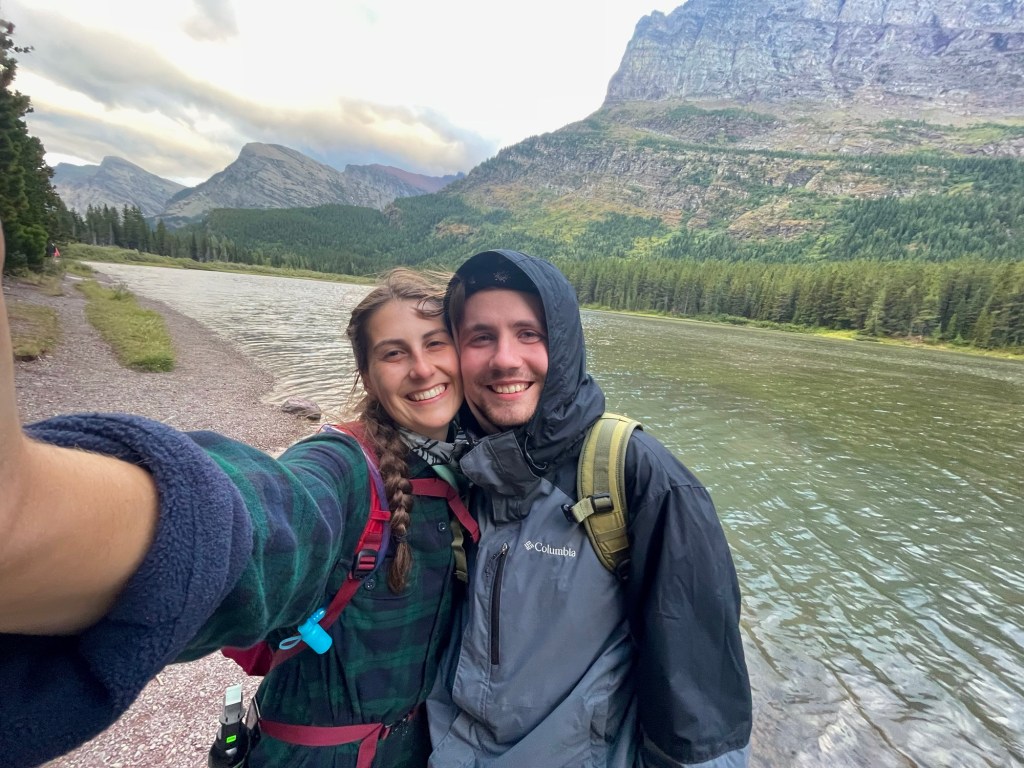
The crown jewel of the United States, your chance to enter into the Rocky Mountain range like never before. Come along while I help you plan your trip and let you in on some of the secrets of the park! We’ll discuss reservations, transportation and parking, hikes in the park itself, and activities in the park.
Everyone has a list of National Parks they want to travel, right? Last year I crossed this one off the list: Glacier National Park.
1. Reservations Galore
If there’s one thing you need to know about Glacier National Park, it’s that reservations are required and not easy to come by. In 2023, a vehicle pass was required to enter the park, on top of the daily park pass (we use the annual National Park Pass). This is still the case in 2024, with vehicle passes now valid for only 1 day at a time rather than 3 consecutive days, with the booking window 120 days in advance. Passes sell out same day.
Exceptions to needing a vehicle reservation:
- You are camping at a campground within the National Park
- You have an activity booked inside the park
- You are entering the park before 6 am
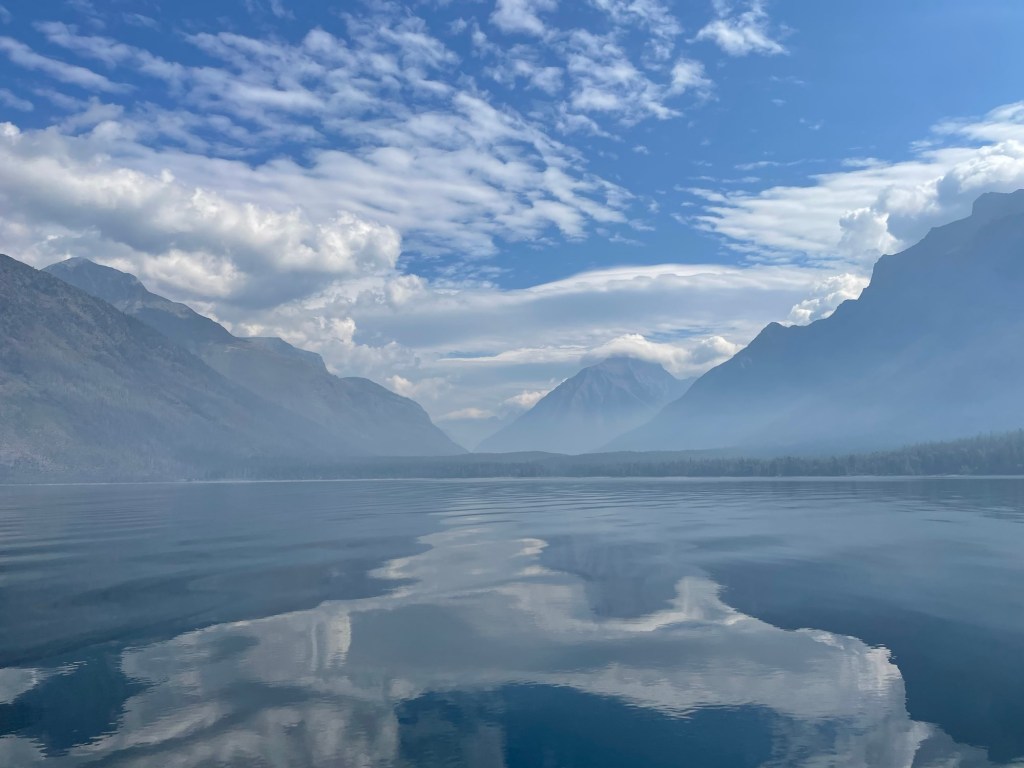
As young professionals unable to plan more than a few months in advance, we did not have the luxury of snagging a vehicle pass. The way we got around this was by booking a boat tour or kayak rental each day. At around $25/person, it was affordable, fun, and a pass into the park. Pro Tip: print out your reservation in the chance that you don’t have reception to pull up your confirmation email at the park entrance. Our Lake McDonald boat tour was informational and beautiful, even in peak wildfire season. Book these activities soon as they fill up.
Please be clear that these activities should not be seen as a ticket into the park that you can no-show to. See this as an opportunity to experience the park in a way you otherwise never would have done.
Reservations you may need:
- Park Entry Pass
- Vehicle Pass
- Campground Reservation in Glacier National Park
- A Reserved Activity
2. Craft Your Park Experience by Location
Glacier National Park is truly HUGE. The area of the park you travel can completely change your experience. This article will offer guidance on the three sections: West Glacier/Lake McDonald, East Glacier/St. Mary, and Many Glacier. There are still others like Goat Haunt, North Fork, and Two Medicine that are more remote and less traveled if that’s more your thing.
West Glacier
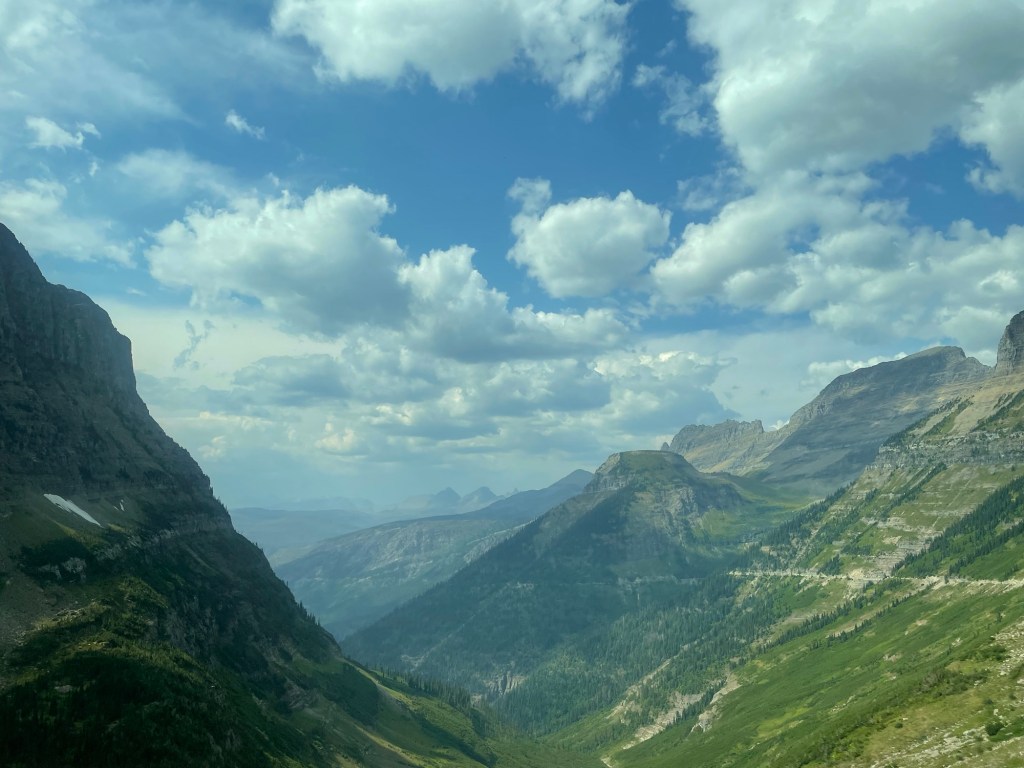
West Glacier is the busiest part of the park by far. The hiking that comes from Logan’s Pass, is also included in West Glacier. West Glacier is the place to be if you’re looking for nearby cities, a busy atmosphere, more accessible trails, and food and lodging.
Must do hikes in West Glacier:
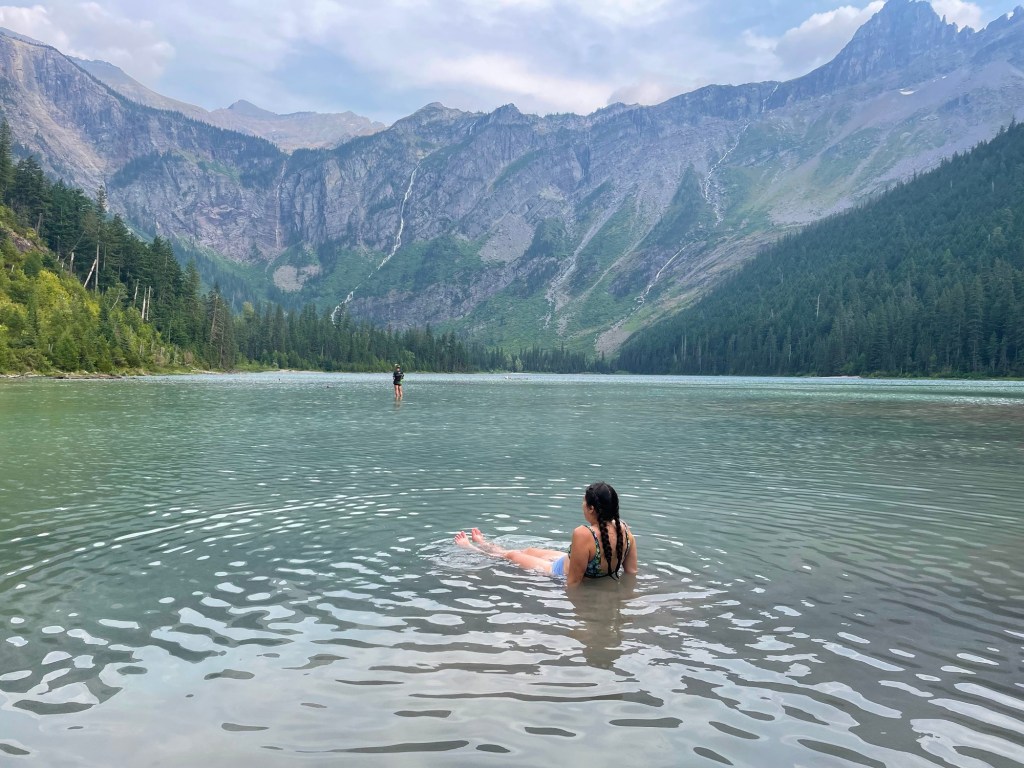
- Trail of the Cedars/Avalanche Lake
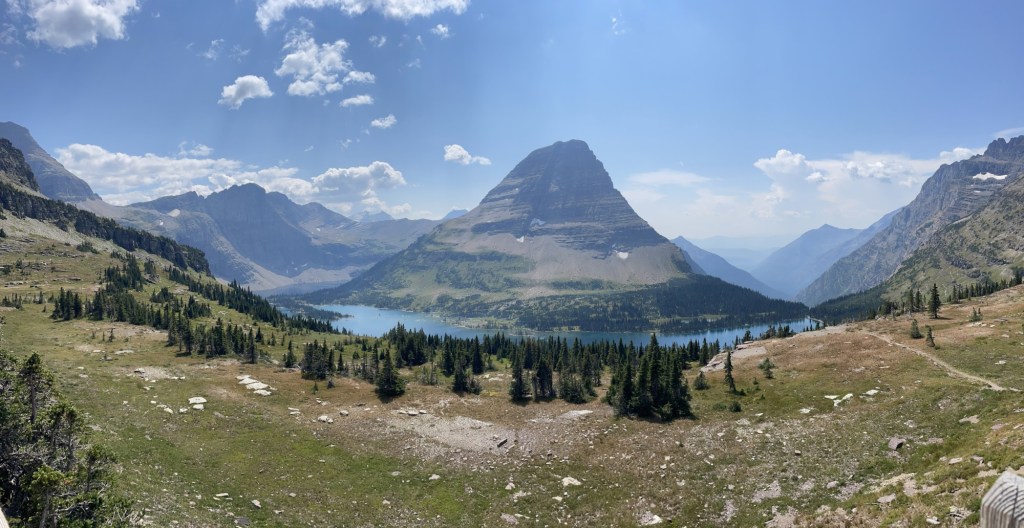
- Hidden Lake Overlook
Although these were some of our favorite hikes, the amount of people can be almost overwhelming. Do not plan on finding a parking spot anywhere except the Apgar Visitor Center, Lake McDonald Lodge, or the Apgar Village. We personally wish we had done these hikes, maybe a boat tour, and then continued to the other side of the park. This is the most touristy spot of the park but should not be overlooked!
East Glacier
East Glacier/St. Mary is similar to West Glacier, but typically a little quieter and less cliff-like. Driving Going to the Sun Road is very manageable on the east side, while the west side was the most scared I’ve ever been!
East Glacier offered us one of our favorite hikes: St. Mary and Virginia Falls Trail.
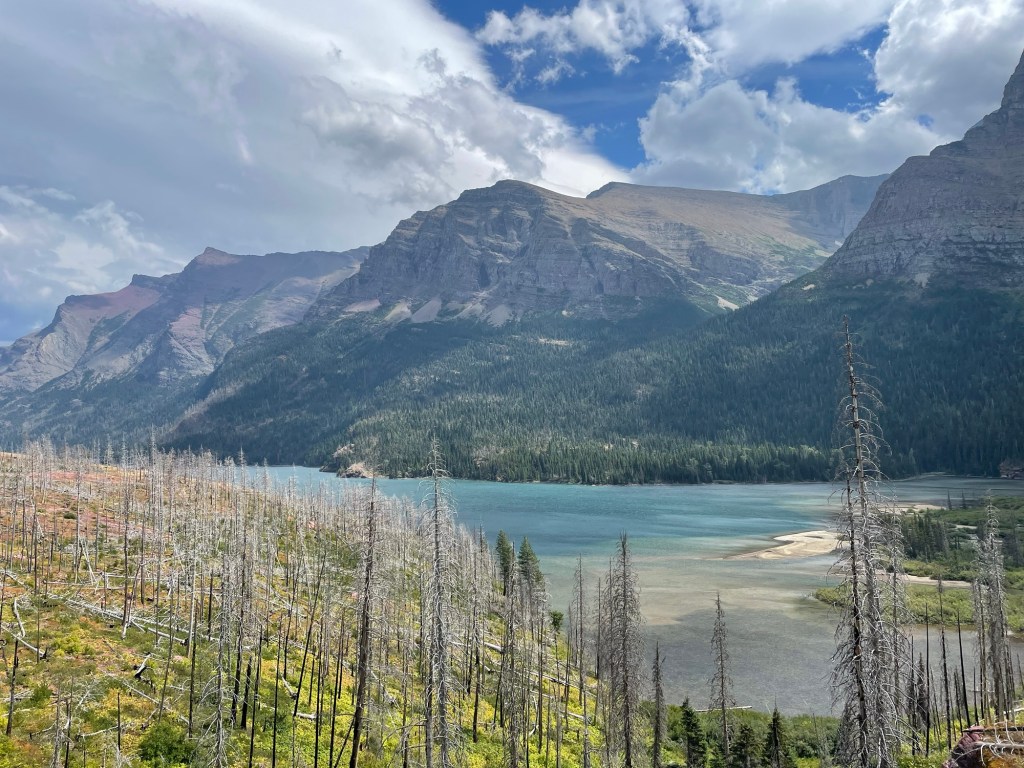
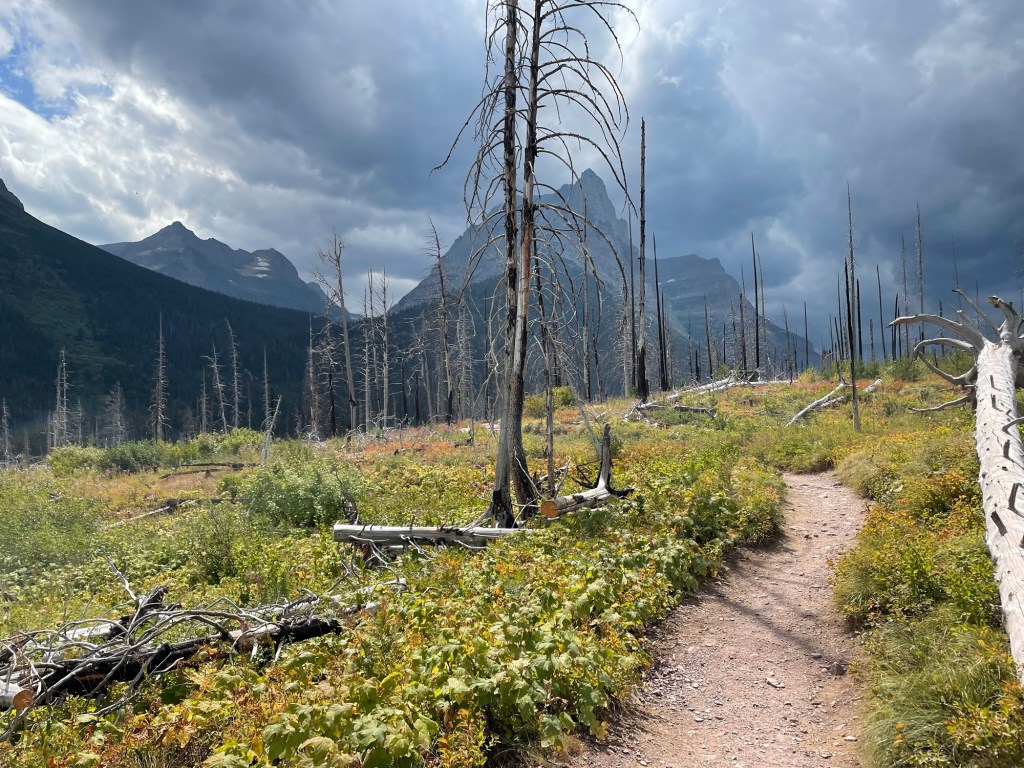

We wish we had spent more of our time on this side of the park. The views are incredible and give you a genuine trail hiking experience, as boardwalks are less common. This is the place to go if you’re looking for that true Glacier experience, but don’t want to be in such a swarm of people. Don’t bank on being able to find a parking spot at some of these trailheads, but your chances are better than at Logan Pass. We were able to find a spot right at the trailhead of St. Mary and Virginia Falls.
Many Glacier
Imagine this: You drive up to the Many Glacier Chalet Hotel beneath a mountain peak across a lake, and find a parking spot first try. You enter the Lodge and stumble upon a violin and piano duet echoing through the lobby as fancy guests lounge in the chairs and sofas across the area. The windows of the lodge open up to unbelievable views of mountains. You and your 4 friends haven’t showered for three days and sneak down to the basement to the gift shop, which is just as fancy as the upstairs. You hope no one notices that your hair is greasy.
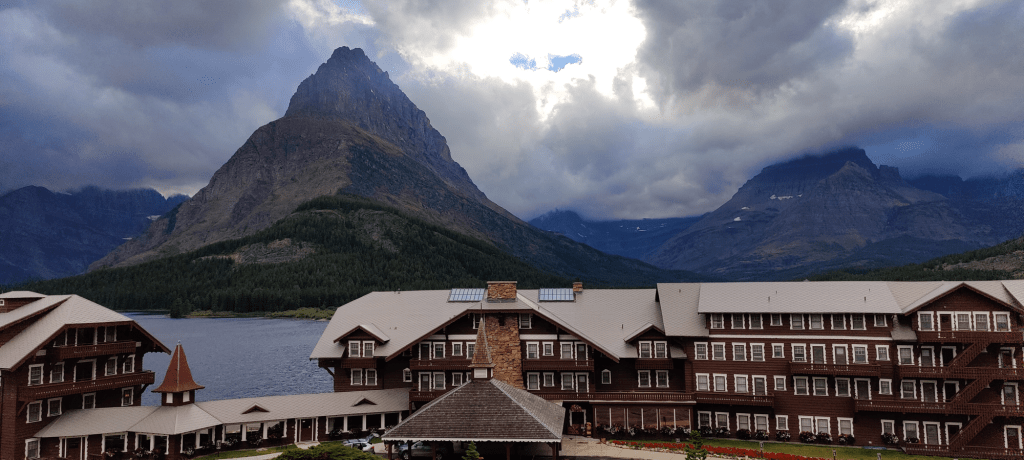
Many Glacier is unlike the Lake McDonald and St. Mary area. We assumed that the best part of the park was in West Glacier due to the business, traffic, and key hiking trails. Many Glacier is by no means hidden, but it is a gem. Many Glacier is a vacationer’s dream, and the lodge can only be described as “posh”.
This area was by far our favorite, and unfortunately the place we spent the least amount of time. In the future, we would spend more time here to complete some of these bigger hikes, including the hike to Iceberg Lake. Bump Many Glacier up on your to-do list if you’re going for the hiking!
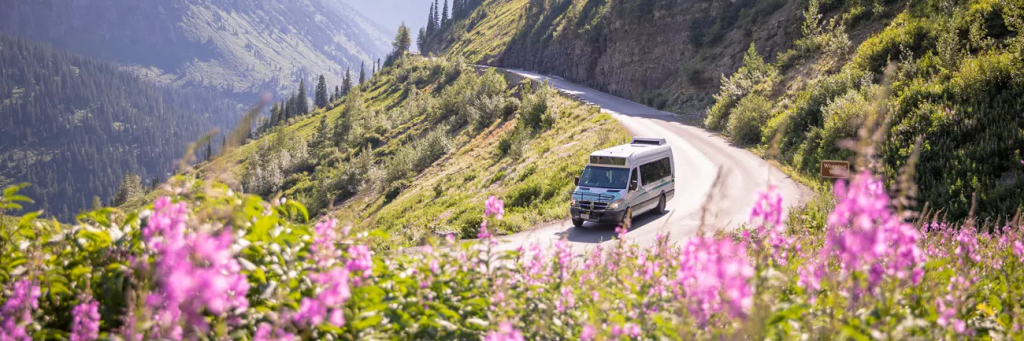
3. Have your Transportation Plan
I know you think you’ll be the lucky one to find a spot at Logan’s Pass, but you’re 99% probably not. You will not have a chance at finding parking there or at Trail of the Cedars unless you are going at an off time on a weekday late in the afternoon, or before 6 am. If you want to park here, plan on arriving very early.
The Shuttle is the way to go in the park if you’re able to make it work. There are limited months and hours that it operates, so make sure you take your trip when it’s up and running. Last year, it ran starting July 7 am to 7 pm, which should be plenty of time, but realistically led to a close call. After hiking throughout the day and enjoying a swim in Avalanche lake, we found ourselves running back to the shuttle stop to catch the last bus for the night.
You will also want to plan for a wait to board the shuttle for around 30 minutes at the Apgar Visitor Center. The demand is high, and there are only so many busses that can drive on the cliff-like road at once. Be patient, be willing to stand, and you will find a spot on a shuttle within half an hour maximum.
4. Have a Plan for Emergencies
We encountered a hiccup on our trip: the pack of soy-based fake lunch meat I had brought had something wrong with it. Our cheese and lunch meat was completely fine in our continuously ice-filled cooler, but on the first two days of enjoying my sandwich I accidentally food poisoned myself both days. This led to muscle spasms by the end of that second day, and taking a trip to the Logan Health – Whitefish Emergency room.
Fortunately with a whole lot of potassium, I was back on my feet. We were incredibly lucky not to have been at our campsite without cell service when this happened. Most of the medical facilities in the area are not open past about dinner time. Make note of where you can get help if you need it, and don’t expect cell service.
All it takes is a bad sandwich, a forgotten water bottle, or a trip over a tree root before you may need to visit a medical facility.
5. Build Your Complete Travel Itinerary Document
Create a google document where you can record what you’ll be doing each day, and where you can store your reservations. This should include:
- Reservation Confirmations
- Campground Maps
- Information on the Hikes you’re Interested in
- Operating Hour Details (shuttle times, visitor centers, etc)
- A general plan for each day

This document will be your everything! Print it out, and plan for limited cell service. This is your physical ticket in when your phone isn’t able to connect.
I recommend pairing this with the app Organic Maps Offline Hike Bike. Download the free app and map for Glacier before you go. You’ll be able to access hiking trails and surrounding areas offline, which will come in handy.
Have fun planning and see you in Glacier!


Leave a comment